This is the second article in a two-part series designed to help dentists optimize the way in which they approach prepping teeth for a full arch restoration case. The content in this article builds on the previous article “Prep for Success, Part 1: Design, Efficiency, and Execution“.
For optimal design, efficiency, and technique in your prepping, here’s the protocol that I suggest:
- Start by visualizing what the finished prep is going to look like. Tailor the design of the tooth to the outcome of the aesthetics or function.
- Break contacts! Once the interproximal contacts are opened up, dentists can accurately see the direction needed to tip the tooth—buccal, facial, or lingual.
- Have two support points (fingers) on the handpiece.
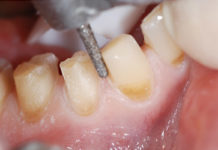
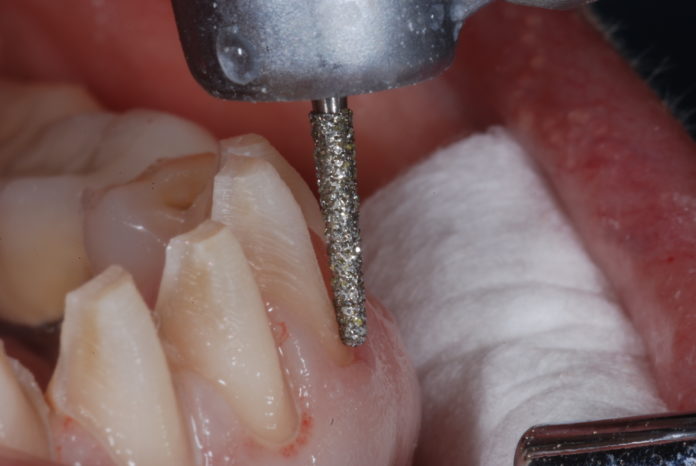
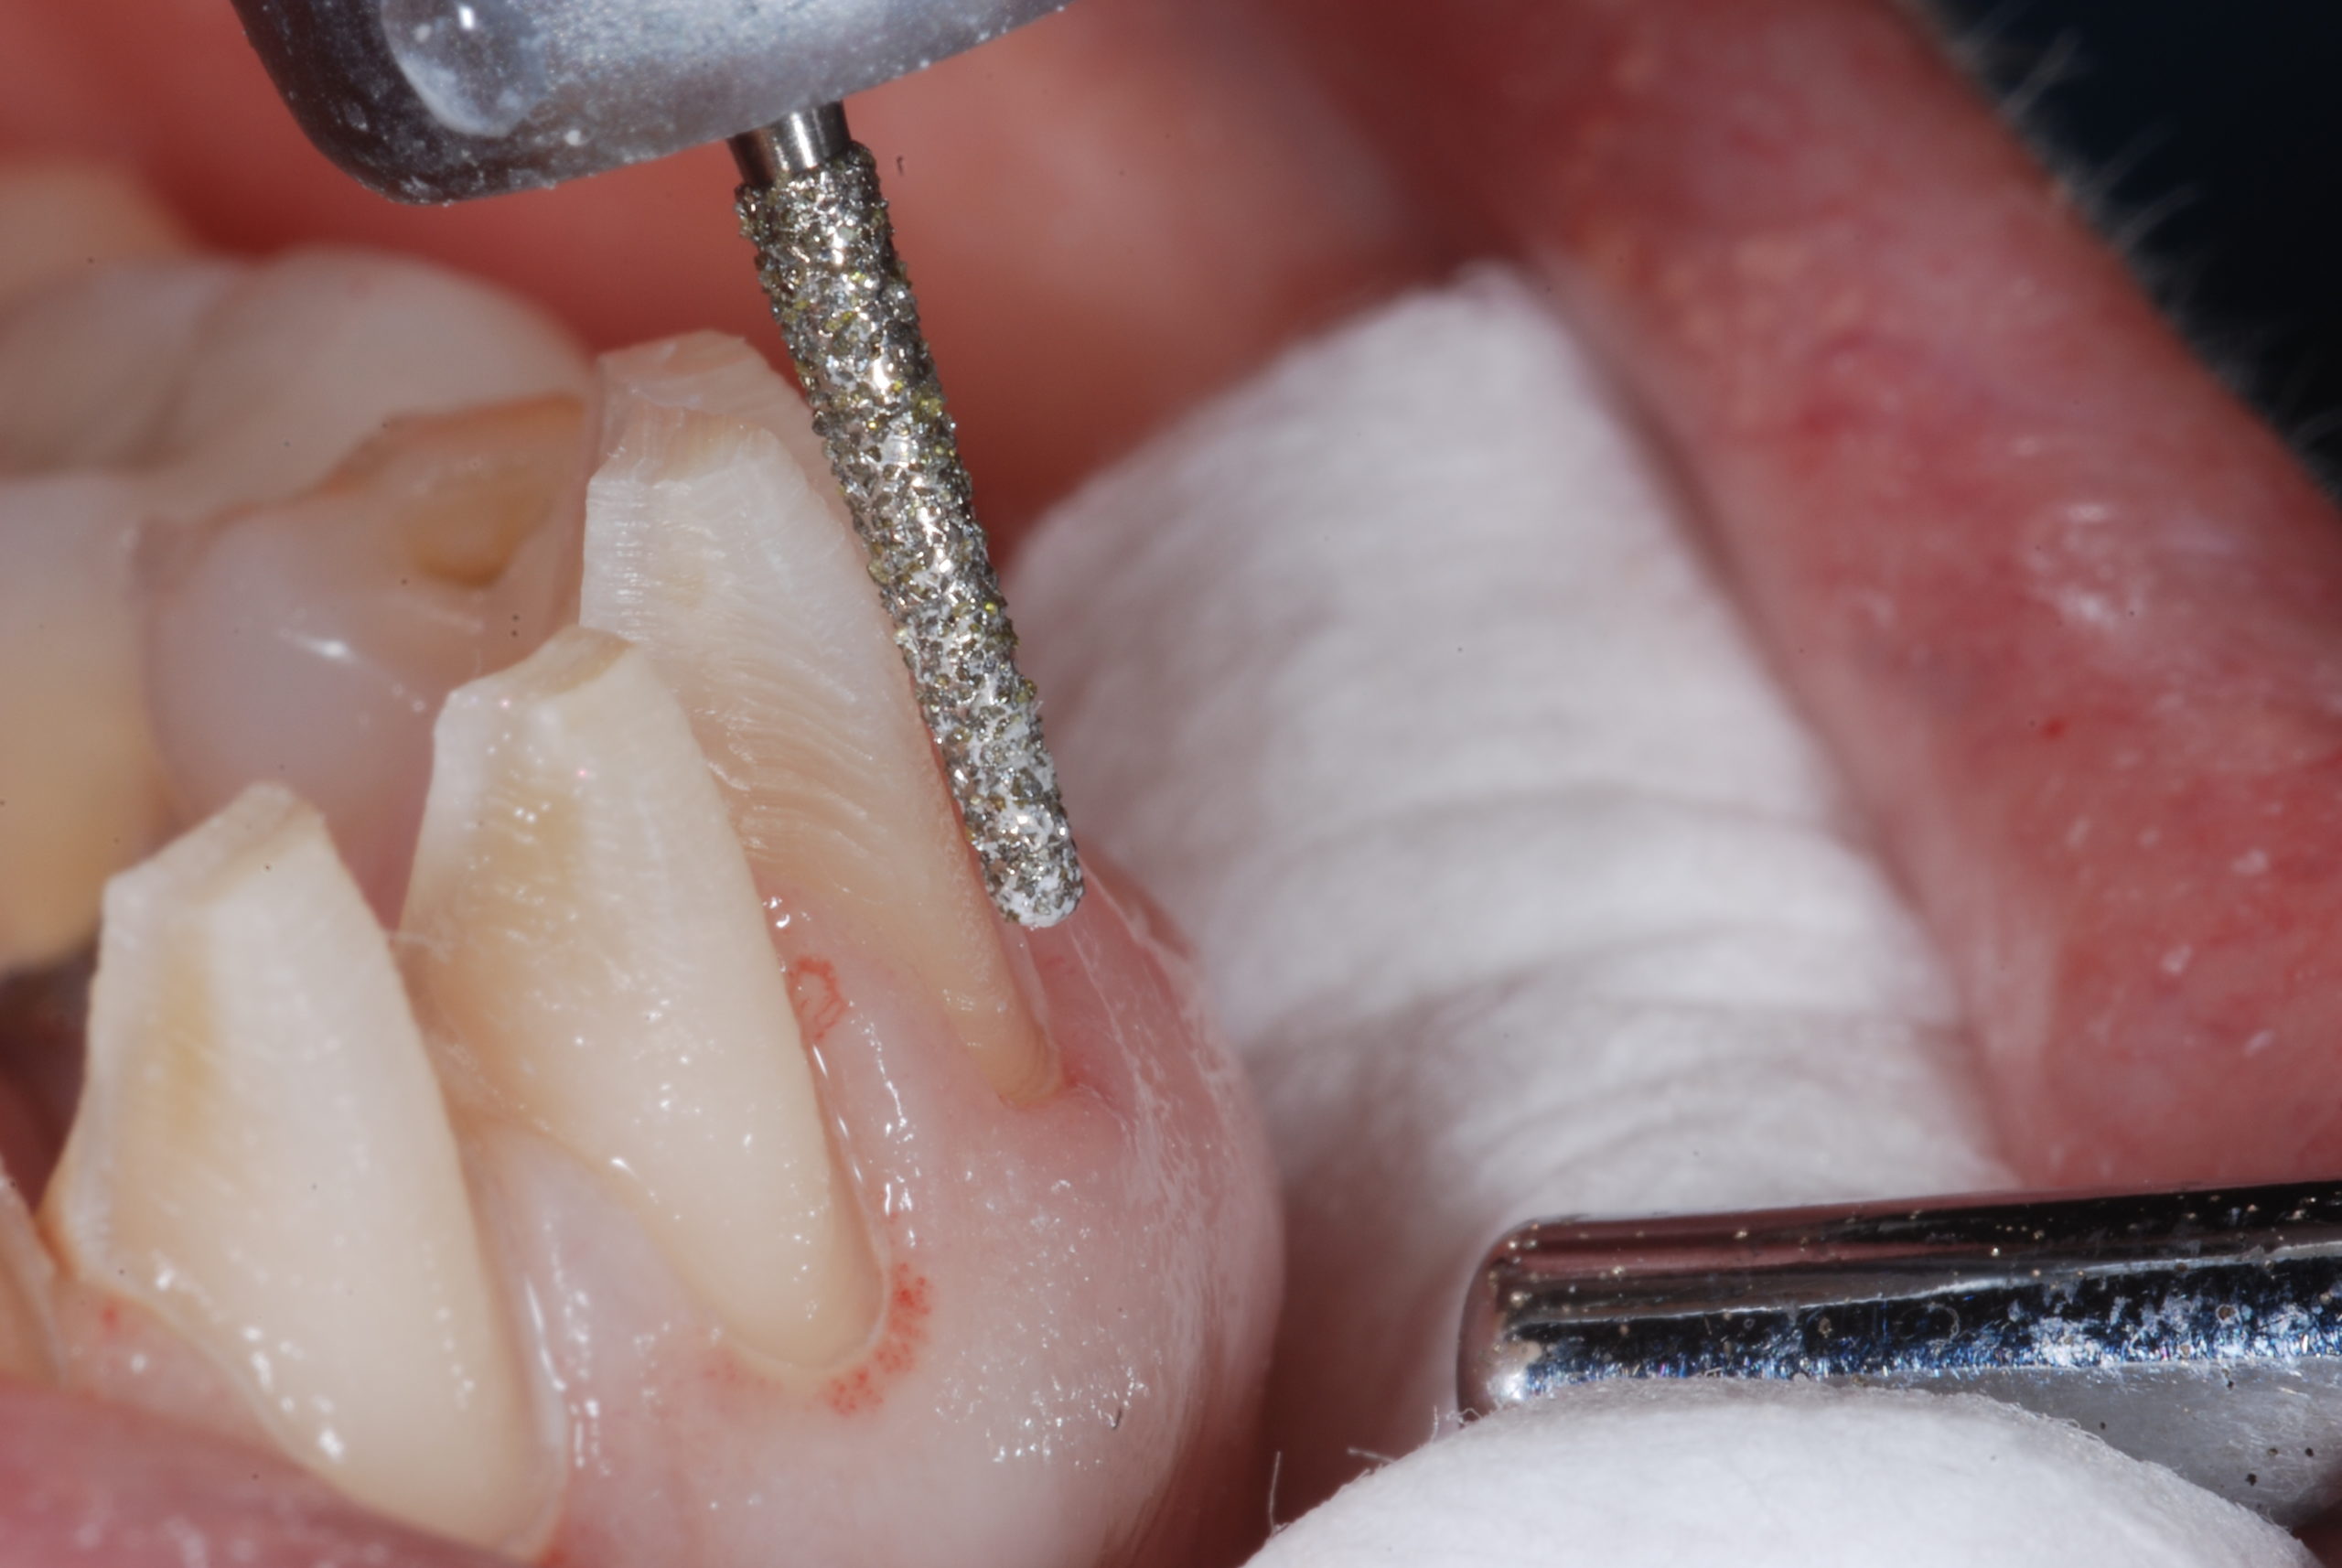
- Use a counterclockwise prep direction, focus at the bur tip, lean into the tooth, upright the long axis of the diamond, and count off ten seconds. During that time, do not lift the handpiece off the tooth! Lifting the handpiece can cause divots and incomplete margin lines and the “washboard surface” ripples.
- Find the right torque and continue with prepping. If the bur skips, lighten up the forward pressure. Keep the hand technique in mind.
- Ensure the patient has proper head posture (tipping of the patient) so the dentist can see the teeth at the best angles, without mirrors. Mirrors show everything in reverse and dentists have to train their brains that left is not left—it’s right. If I can show doctors how to position the patient in order to look directly at the tooth, then that problem is gone.
- For a full arch prep case, if you are a right-handed dentist, start on the ride side, teeth 3 through 6. And if you’re a left-handed dentist start on the left side, teeth 11 through 14. Usually, dentists can get three-fourths of the job done with direct vision, and then it’s only about a 3 to 6-millimeter-wide section that they use a mirror to finish the prep.
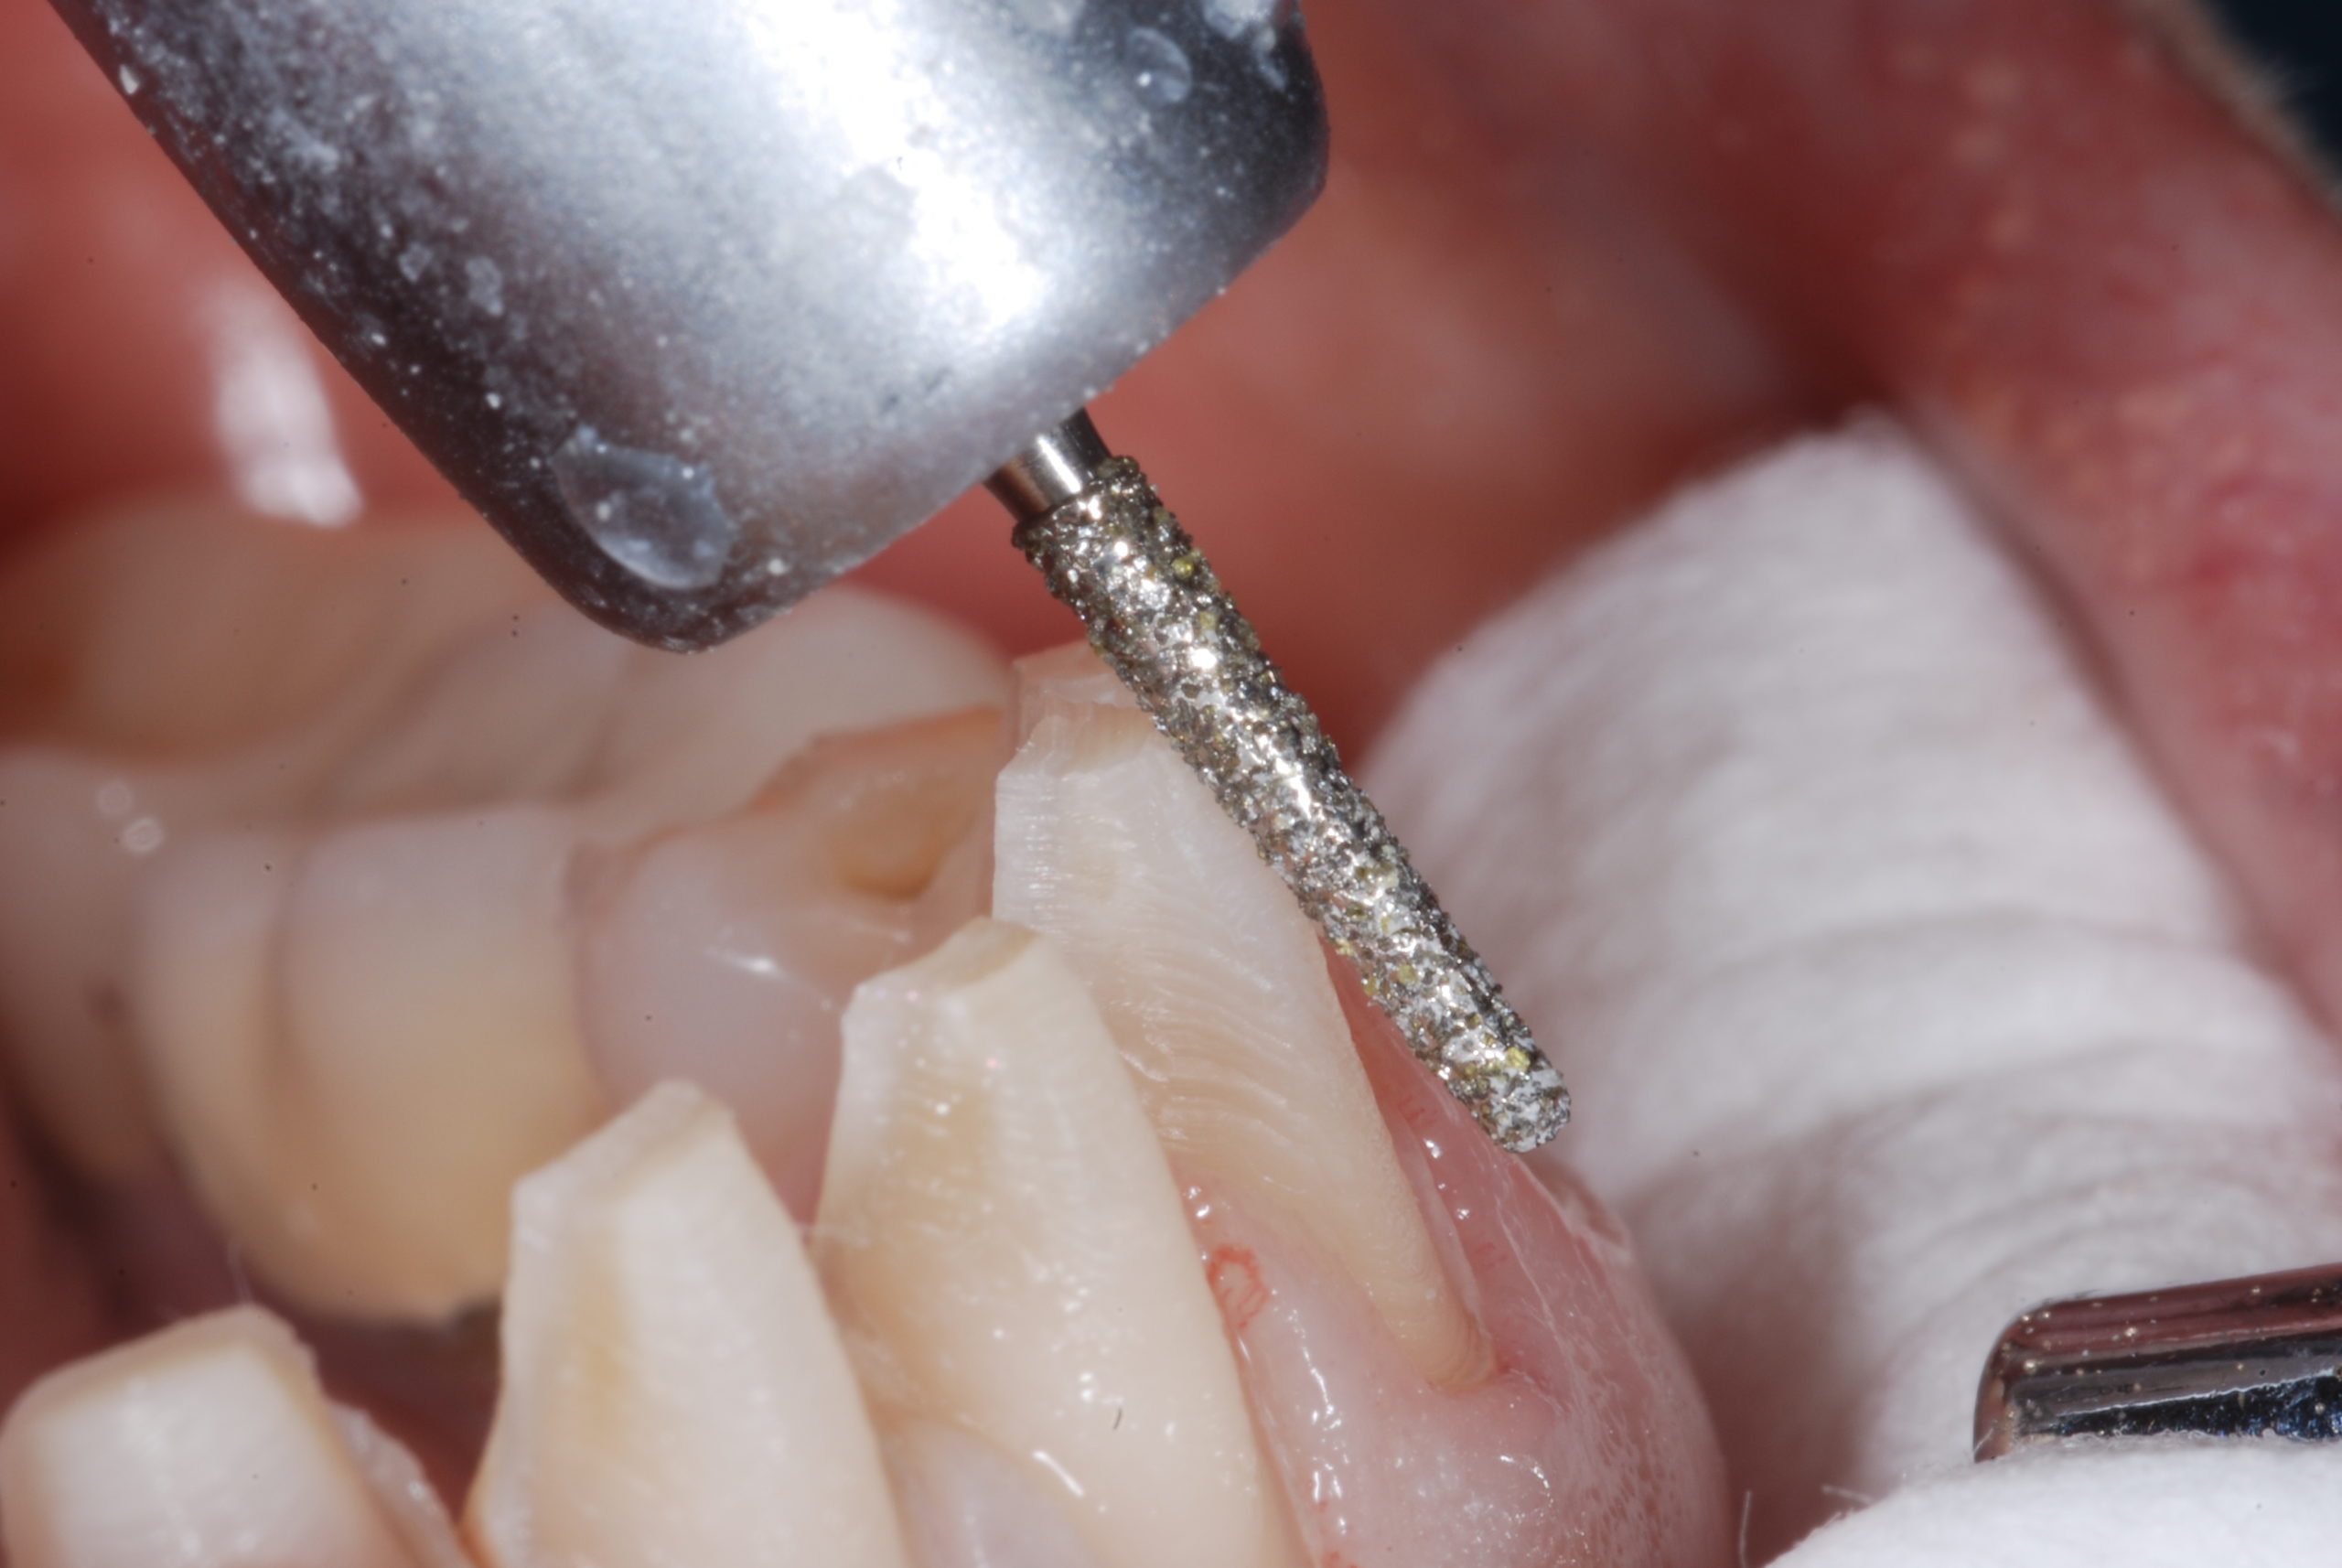
Besides the directional issue, a mirror slows you down, if only because you repeatedly have to clean it off. I use an air mirror that blows a stream of air on the mirror and hooks up to an air port on the dental delivery system. With quadrant or full arch restorative prepping, always prep forward of the most distal tooth. This will maintain the current or modified VDO (vertical dimension of occlusion). Never prep the most distal molar or occlusal stop. - Look at the tissue height and decide in advance if you need to drop the tissue lower due to decay in order to cover and seat the crown. Lower the gingival tissue before prepping so that the diamond doesn’t cut the gingiva. Bleeding gingival tissues takes more time and work to stop.
If a crown fails, you owe the patient a complete redo and how much time (and money) does that cost you?
There are many benefits to this prepping approach but some dentists feel that taking extra steps takes too much time, and as they say, time is money. However, if a crown fails, you owe the patient a complete redo, and how much time (and money) does that cost you? Spending more time at the outset saves you far more time later. In the Beyond the Basics course, we teach dentists how to make a game plan, a strategy for every tooth, breaking down a very complex full arch case into individual steps.
Prep Like a Technician
I tell the doctors to “prep like a technician” because lab techs are the ones who have to call a doctor when they don’t get what they need. Dentists don’t want to get that call—it’s more time and it can be embarrassing—and the techs don’t want to make that call. They don’t have to if the doctor learns to prep like a technician first. When I was in dental school, we had to do our own crown and bridge lab work. When you have to fabricate a crown on your own prep model, you see exactly what it takes to correct issues that could have been handled while prepping the tooth chairside. You realize that if you under-prep or over-prep the tooth, there will be issues that the ceramist will have to overcome to create the desired shape and shade for the restoration.
On delivery day, when placing the restorations, the concept of “prep for success” really applies. On that day, when the dentist delivers the crown and it just drops right in, it’s worth it.
Conclusion
On delivery day, when placing the restorations, the concept of “prep for success” really applies. On that day, when the dentist delivers the crown and it just drops right in, it’s worth it; the contacts are good, and the occlusion and margins will be dead on.
If you are doing one tooth, then the patient can be in and out of the practice in 30 minutes; if it’s 10 teeth, it will take an hour and a half. This is where dentists can have the best of both worlds: having the patient in and out quickly and knowing the quality is there, so the patient won’t have to come back for adjustments. If you want to save time for your patients and for your team by doing the work right from the outset in order to deliver quality dentistry that lasts for years, think about what you can do to improve your prepping. Ask your lab about the quality of your preps and be prepared for whatever answer they provide. It’s one small technique that can make a huge difference to the success of any dental practice.


